Tuesday, April 29, 2025

My Kitchen Hacks - Freezer Cubes


Freezer Cubes: My Favorite Kitchen Helper Lately

I’ve been really loving these square silicone 2-cup freezer cubes. They’ve become one of my go-to tools for saving food and cutting back on waste in the kitchen.


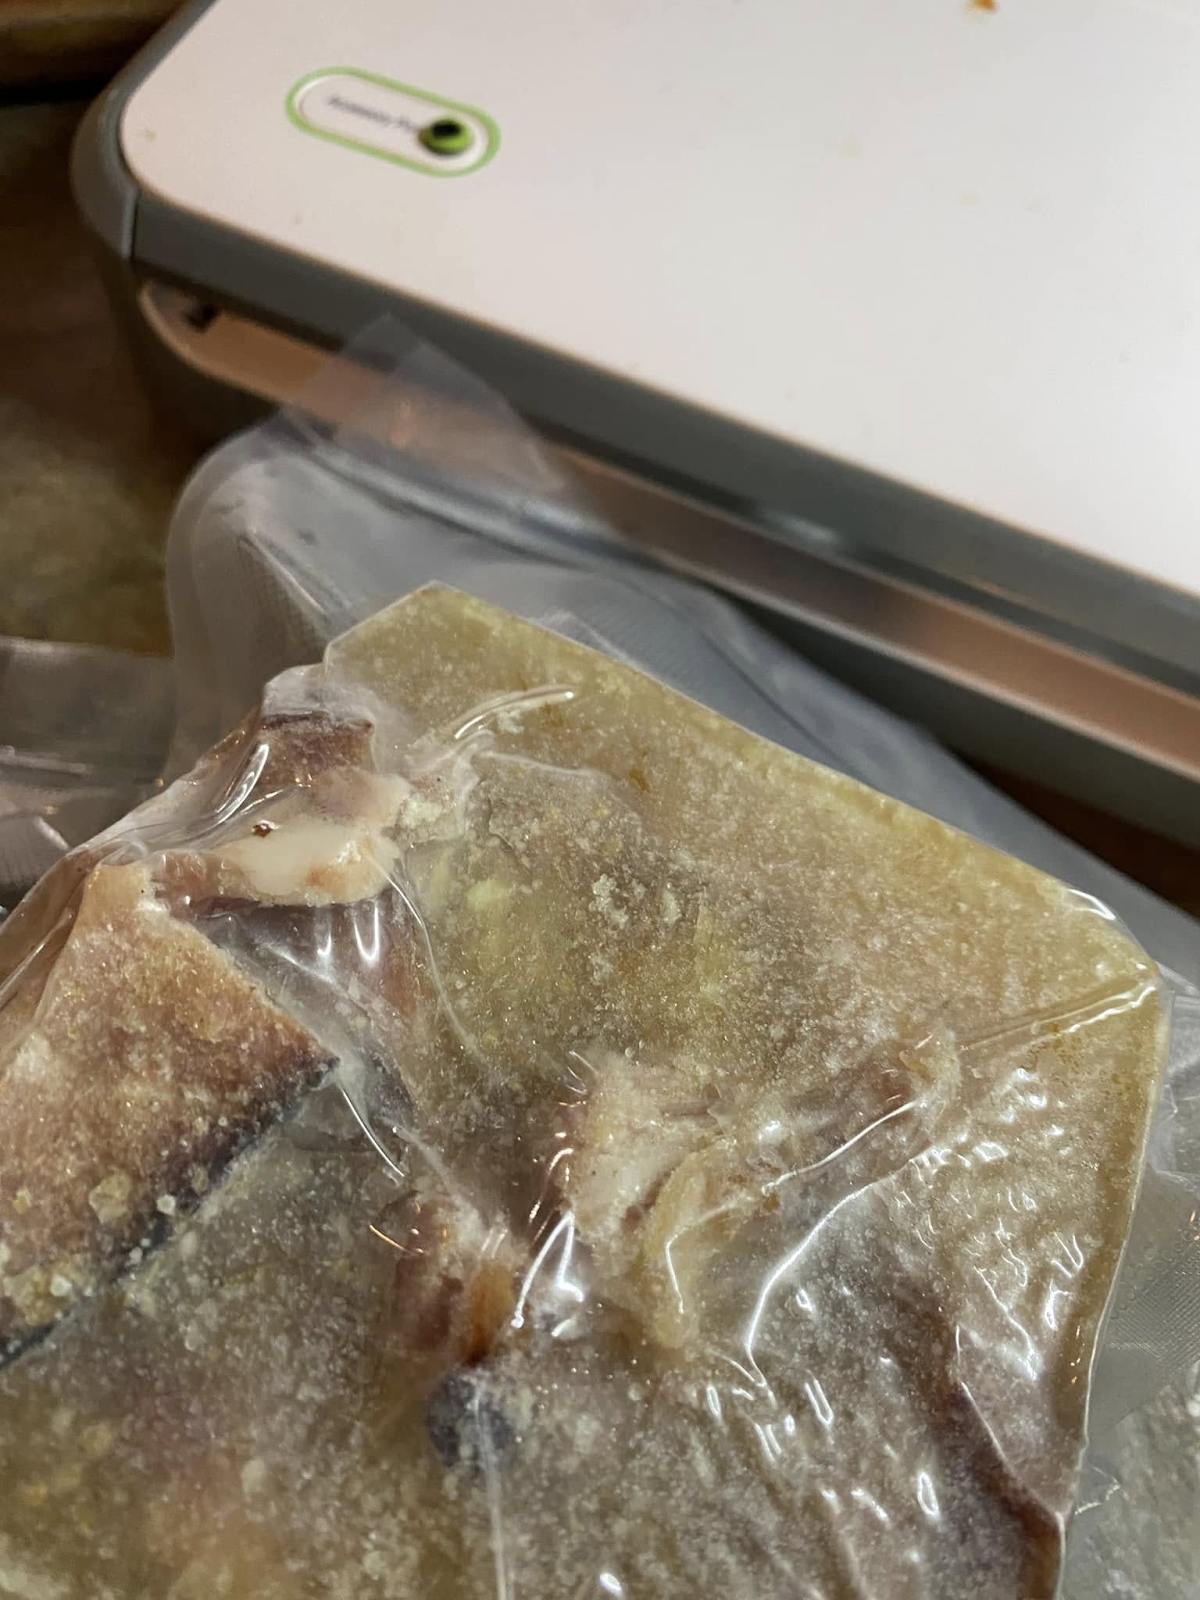
What I like most is how easy they are to use. Once something’s frozen, I just pop the cube right out—no sticking—and seal it up without making a mess. I label the bags, toss them in the freezer, and they stack up nicely so I still have room for other things. I only have two of these cubes, but I use them all the time.


When I’m ready to use something, I just drop the frozen cube into my Instant Pot or Crockpot. No need to thaw—just let it melt down while everything cooks. Super easy.


So far, I’ve frozen:

  • Chicken stock

  • Ham stock (some with ham bits)

  • Pinto beans (perfect for chili or refried bean burritos)

Next I’m thinking about doing chopped veggies for soups or even making vegetable broth from the stuff I usually toss—like ends and peels.

It feels good to save and use what I have, especially with a 16-year-old boy in the house who eats like a grown man. Anything I can do to stretch meals and save money helps.

Just wanted to share in case it gives someone else a good idea too!

If you try this always feel free to drop a comment, I would love to have your feedback.

Please feel free to subscribe.

Also if you have a craving, send it in a comment and I will see what I can figure out for us to try.

Thanks again for being part of my community.

Be the Light in Someone's Day

From My Kitchen to Yours.

Much Love

Louise 

Friday, April 25, 2025

What’s Cooking in My Kitchen Today? 4/25/2025

What’s Cooking in My Kitchen Today?


Happy Friday, friends!


You know me—I’m always sharing and caring around here. I love hearing what everyone’s up to—any new hobbies? As you can probably guess, mine is cooking (shocking, I know 😄).

Here’s what’s going on in my kitchen today:

  • I’m trying out a new sourdough discard bagel dough recipe in the bread machine. It just does the mixing and rising. After that, I shape the dough, let it rest, boil the bagels briefly, then bake. I’ll let you know how they turn out!

  • I made another batch of bagel dough yesterday that’s chilling in the fridge until Sunday. I’ll just warm it up and go. With local bagel prices being over a dollar each, I can make 15 at home for just flour, water, and yeast—such a win.

  • I’ve got a big pot of pinto beans going in the Instant Pot. I made extra so we can stretch them into a few different meals. My bunch loves bean burritos, and I’ll also mash some into refried beans.

  • And if you know, you know—I’m setting some aside just for me, with raw onions and a slice of cornbread. Heaven in a bowl.

We’ve also come to the realization that those individually packaged snacks are shrinking. I get it’s by weight, but come on—3 or 4 chips in a 1.5 oz bag? That’s a little stingy. So, we’re taking snacks into our own hands.

  • First up: Chex Mix. I leave out the pretzels and peanuts to keep it crisp and fresh. My husband tosses in peanuts himself, and if I’m feeling generous (with love, of course), I’ll flavor the pretzels too.

  • Paddy and I both love those firecracker saltines—another one on the list. I’ll share the recipe once I get it going!

  • We even remade that s’mores snack mix from Costco using Aldi mini marshmallows, chocolate chips, and cinnamon graham cereal.

  • And of course, popcorn. We make a big batch nearly every weekend. I’ve got mini M&Ms on standby for extra fun.

So what’s up with you? Any hobbies, walks, recipes, or projects going on? I’m always curious to hear what everyone’s doing!

I am trying to commit to sharing at least once a week, keeps me grounded and actually keeps us as a family committed to eating better and eating at home. 

My wish for you is to always find a way to live your best life. 

If you try this always feel free to drop a comment, I would love to have your feed back.

Also if you have a craving, send it in a comment and I will see what I can figure our for us to try.

Thanks again for being part of my community.

Feel free to subscribe also.

Be the Light in Someone's Day

Be back soon. 

(clipart from vectors)


Friday, April 18, 2025

Sour Dough Discard - Pizza Edition - Come Back to Eating at Home


Happy Easter, Happy Spring, Happy Lent, Happy Passover.

I hope that included us all. 

I have been religiously tending to a sour dough starter. There are weeks I may keep her in the fridge and then there are times, I feed her daily. I seem to not be able to time myself to make a complete sour dough loaf. I have tried a few times and they turned out great. With my time line however the discard is my favorite part.

Sometimes, I will let it collect, so that I can make more of things with it.

Today I did not, I made a pan pizza. Straight from the discard.

Taking a skillet, mine was non-stick, note, I have seen it done, in a hot cast iron and put into the oven. I chose to try it this way. It worked and was so delicious and super easy.

My pizza today, was Greek inspired, I only used feta, mozzarella cheese and canned mushrooms. Next time if I have on hand it will be some spinach, onion and some Greek olives. Yum, right.

I do not use a base sauce, preference is just because, I like to put either a laughing cow spread on it, or today, I just sprinkled a little mozzarella cheese.

So let's get to it.

Sour Dough Discard - Pizza Edition

Greek Inspired

Stuff to gather:

Sour Dough discard (as much as you want to use as a pizza, my pan was 8 inches) 

Olive oil (enough to coat bottom of pan)

Mozzarella Cheese (this gave it light base of cheese flavor, so the feta stood out and the seasonings)

Feta Cheese

Mushrooms 

Seasoning (  I used the Cavendar's Greek low salt seasoning. )

*optional toppings to complete the Greek theme, kalamata olives, spinach, onion, and even wait and make a Greek inspired salad and put a little on the warm pizza slice. 

The putting together:

1. Put oil in the pan, making sure it all gets covered.

2. Pour in your discard, when I did mine the oil made it easier to spread out. 

3. Start with the cooking on low, like a pancake, then I waited for a few bubbles, then flip.

4. Put a slight sprinkle of cheese (or if you prefer a sauce, you could spread a little alfredo if you like)

5. Then your toppings. Seasoning. Cover for a few minutes, it helped my top melt and warm through. then Uncover to finish crisping up the bottom. 

  *at this point if your pan is oven proof I guess you could do that to melt the top more, but I found covering was just enough.

6. Check your bottom, and it will start to brown, and get nicely crispy.


This was so fast, and so yummy. Just what I was craving. I love the taste of the Sour Dough, it makes a slightly tangy note. 


As I was flipping this, I realized this could be really versatile, this could have been a nice wrap for a Greek Gyro, or a chicken shawarma wrap. So ideas for the future.

I am trying to commit to sharing at least once a week, keeps me grounded and actually keeps us as a family committed to eating better and eating at home. 

My wish for you is to always find a way to live your best life.

 If you try this always feel free to drop a comment, I would love to have your feedback.

Also if you have a craving, send it in a comment and I will see what I can figure out for us to try.

Thanks again for being part of my community.

Be the Light in Someone's Day

Be back soon. 


Thursday, April 10, 2025

Chili Cheese Fries - Series Chili Beyond the Bowl


I bet you thought I would wait another week, gosh, but I get so excited. Made a quick batch of chili for the week and I decided that I would run a series of chili and the many ways that you can eat that chili. Where it will show how you can make it stretch and serve as a few different meals.

Chili - Beyond the Bowl 


Chili Cheese Fries

Stuff to gather:

Potato (I do one potato per person, you can do any kind that you like, idaho, russet, sweet)

Seasoning for your potato / and a little oil.

Chili (your homemade or even can is good)

Shredded Cheddar (I did not put an amount because you have to feel that in your heart)

*optional toppings: diced onion, jalapenos, sour cream - anything you would put on your chili that you like.

The putting together:

1. Cut your potato in fry style, toss in a baggie with a little oil and your seasonings, put into a sprayed air fryer and 390 for 15-20 minutes (flip half way) depending on how crisp or dark you like. 

**remember the crisper, the more it stands up to the liquid of the chili.

2. When the fries are finished, I take them out. and I put a piece of foil into my air fryer, (kinda turning up the edges so it will hold the chili on the fries. )

3. Place your fries back onto the foil in the air fryer. Scoop your chili on top. I scoop more of the beans and meat stuff and then a little of the soupy part, sprinkle your cheese. Air fry again, until the cheese is all melty and everything is hot. 

*this can also be done on a sheet pan in the oven. Actually when I am feeding a lot of people, I will at least do the fry's part, and then do the chili cheese fries per person in air fryer. 

4. When everyone is melted and hot, pull out and then you can put what toppings you like. 

I found this to be a very filing and great way to take that Chili - Beyond the Bowl.


I will share with you my chili recipe soon. I think making your own chili makes it so more on the cleaner, healthier side. I do have to use beans in the can to make it quicker. When I get more organized and more space, or even learn to can I will be doing them from dried. I did the math and money wise it was a better deal from dried. Chili and even just beans freeze so well. They have those soup freezing cubes you could make single servings and do it on the fly. Quick and easy. You could even do it on freezer fries. First though try the air fryer from real potatoes, you will never go back. 

I hope you enjoyed my little detour into the Series - Chili Beyond the Bowl.

I still have plenty of chili and plenty to share. So sit back and enjoy my kitchen. I am trying to commit to sharing at least once a week, keeps me grounded and actually keeps us as a family committed to eating better and eating at home. 

My wish for you is to always find a way to live your best life.

 If you try this always feel free to drop a comment, I would love to have your feedback.

Also if you have a craving, send it in a comment and I will see what I can figure out for us to try.

Thanks again for being part of my community.

Be the Light in Someone's Day

Be back soon. 

Wednesday, April 9, 2025

Flip It Tortilla Pan Pizza - Eating At Home

 Come on in, have a sit, welcome to "my kitchen".

I was so busy this morning, that I actually forgot to pick out some things for lunch and dinner. My kids are off this week for spring break. If you know you know. My 16 year old, can eat now and again in 30 minutes. Endless pit of a stomach. 

The simple tortilla, can be the gateway to all kinds of snacks, or even a meal. Lately I have been buying the burrito size tortillas at my Sam's Club but they are in all the stores. I usually get the low carb ones for myself. 

I had a pack of the burrito sized tortillas. Find a pan that fits your buritto. That is helpful to be able to flip it over. 

So without to much let me see if I can tell you how to do this simple, flip it tortilla pan pizza.

Flip It Tortilla Pan Pizza

Stuff to gather:

~toppings you would like with your pizza

~spices (garlic powder, onion powder, italian, oregano, basil -what you like)

~sauce (I found no need for it, but if you want then what you like)

~cheeses that you like - I did a handful

~tortilla (the size you want)

The putting together:

1. Spray your pan, then lay in the veggies first if you are using peppers, onions, mushrooms, and sautée them a little to get them tender.

*If you are not that type of person then move to step 2

2. Turn off the heat for a minute. 

3. In the pan (if you have veggies just spread out a little to cover bottom of pan) then meats, spreading it over the entire pan evenly, then the cheese you like and if you like sauce, drip a little all over the top, (not too much, I found I did not even need the sauce, if you like a little tomato flavor use canned or chopped tomatoes) all the while keeping the watery contents down. 

4. Lay the tortilla over it all, turn heat back on, and continue to press down on the tortilla. This is where the cheese will melt and meld with all the stuff under the tortilla and make it easy to flip over.

*I check under a corner to see if we are melding and if the cheese is crusting to the pan.

5. Flip it over and let the tortilla side, get crispy and toasty.

*I put a plate over my pan and flipped onto plate and then slid back into the pan.

6. When crispy like you like, slid back out and let cool a minute and cut.

My opinion, this was a really nice way to make a quick pizza-ish meal. We usually get the NYC style from Papa Johns and with using a non-low carb, I could fold it exactly like we do those and I found it to be texture wise a good match. The taste was on point and filling. 

What I know

The pack of burrito size tortilla can be $ 4 for 8. Cheese 8oz $3. Mushrooms, onions, peppers $2.00. and some sauce $1.00. You could make 8 for less than a large everything pizza ny style from Papa Johns. Healthier because you know what you put on it. Quicker than waiting and going to get it. 

Nothing is better than a nice warm piece of pizza. Especially if you like it garlicy, cheesy...mmmmmm

Thanks again for checking out what I have cooking in my kitchen today.

I am trying to commit to sharing at least once a week, keeps me grounded and actually keeps us as a family committed to eating better and eating at home. 

My wish for you is to always find a way to live your best life.

 If you try this always feel free to drop a comment, I would love to have your feedback.

Also if you have a craving, send it in a comment and I will see what I can figure out for us to try.

Thanks again for being part of my community.

Be the Light in Someone's Day

From My Kitchen to Yours.

Much Love

Louise 


Tuesday, April 1, 2025

Black Bean Burrito Salad - Eating At Home


This weeks recipe is really just a salad. Made with basic things you have in your fridge.

I made a batch of black beans this week and I was looking for different ways to use them. If you have an instant pot and you can get your hands on some dried beans, please try making them at home. They are superior in taste and make much more sense money wise, than canned that you buy in the store. The canned ones work with this also.


Black Bean Burrito Salad

Stuff to gather:

~Flour tortilla (one large one is nice - this time I used three little ones )(to cut carbs- those low carb ones also work well)

~1/2 cup of black beans 

~1/4 cheddar shredded

~1 - 1/2 cups of lettuce (dice it smallish)

~1/4 cup of onion (dice small also) - this is if you like onion

~Spices: garlic, onion, (optional is taco seasoning - but I used lime pepper)

Optional

>salsa, sour cream, tomato (dice small), jalapeno, avocado

The putting together:

1. Take your beans and put them in a pan to warm up, add your spices that you would like. 

2. The tortilla, lay in the microwave and cook until it gets to where it is lightly brown and then let sit, it will harden. (In this salad, I did the three little ones. then fixed in a triangle in my bowl and pressed in the middle and it made like a nice little bowl area for the salad. ) 

3. Prepare the bowl, layer in your lettuce, then what you like. In mine I put lettuce, next onion, next tomato, and then my warm beans. 

On top put shredded cheese, and jalapenos and finish with some sour cream (greek yogurt is my go to.)


A very yummy salad. The tortilla that is crunchy and then the warm beans on top of a cold lettuce and tomatoes. With the slightly melty cheese and sour cream. Mix up and then use the tortilla like a scoop, and when you get to the bottom. My favorite part, it is still slightly crunchy, but it is mixed with all the stuff and has soaked up all that goodness. 

I was a very satisfied with this. This salad will be on repeat. 

If you try this always feel free to drop a comment, I would love to have your feedback.

Also if you have a craving, send it in a comment and I will see what I can figure out for us to try.

Thanks again for being part of my community.

Be the Light in Someone's Day

From My Kitchen to Yours.

Much Love

Louise 

Discard Diaries - Rye Bread Sourdough Discard Bread Machine

  The Discard Diaries: Simple Sourdough Discard Rye Bread Welcome back to The Discard Diaries , where we celebrate the magic of sourdough d...